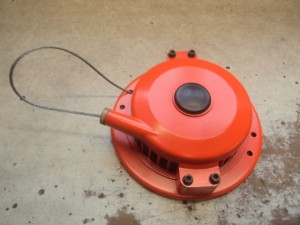
Hirth 54R Recoil
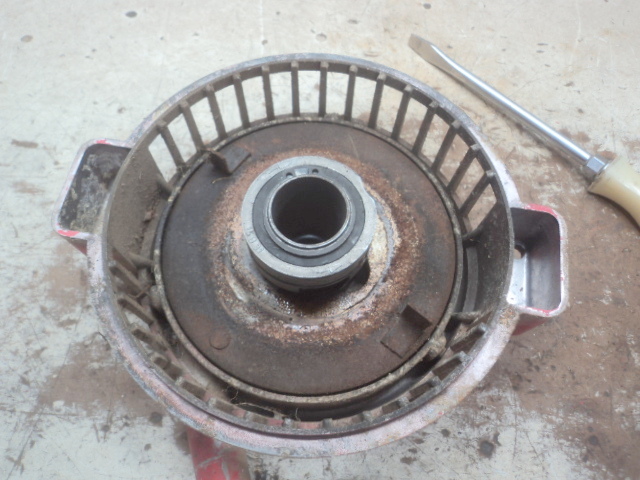
The recoil on these motors are pretty simple if you understand a few critical points about their construction. We start by taking it apart.
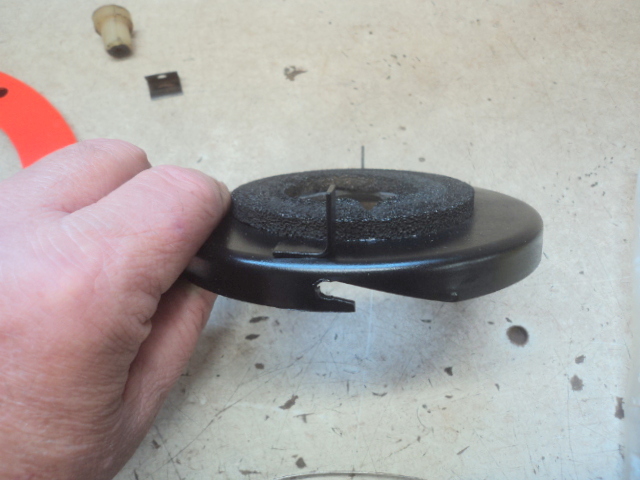
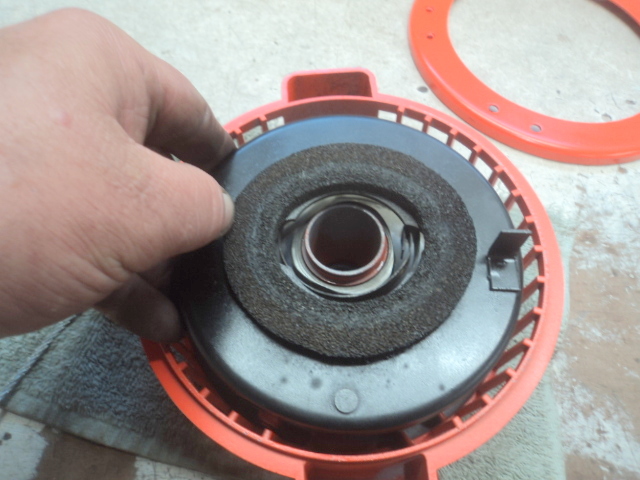
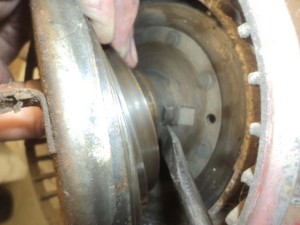
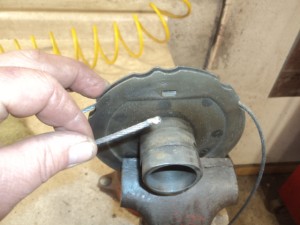
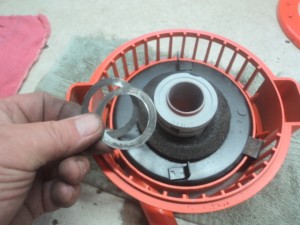
If your spring housing has these clips, you need to remove them. Carefully get behind them with a screwdriver and pop them off the roll pin. Remove the snap ring from the aluminum roller cage and remove those components.

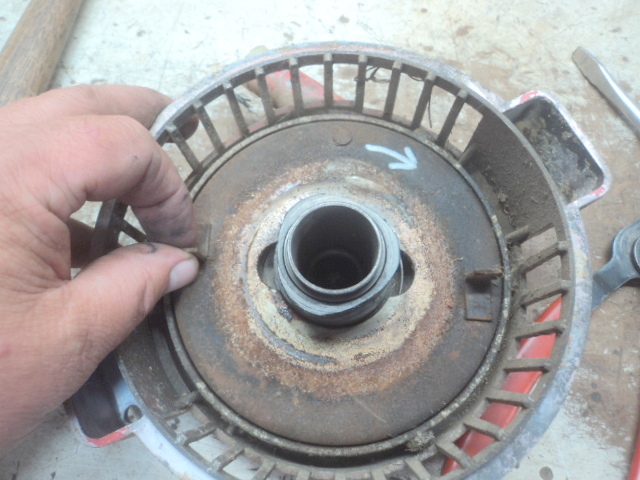
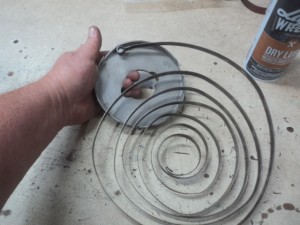
Grab the tabs and turn the recoil spring housing clockwise 1/3rd of a turn and you will see it lifts off of the 3 roll pins.
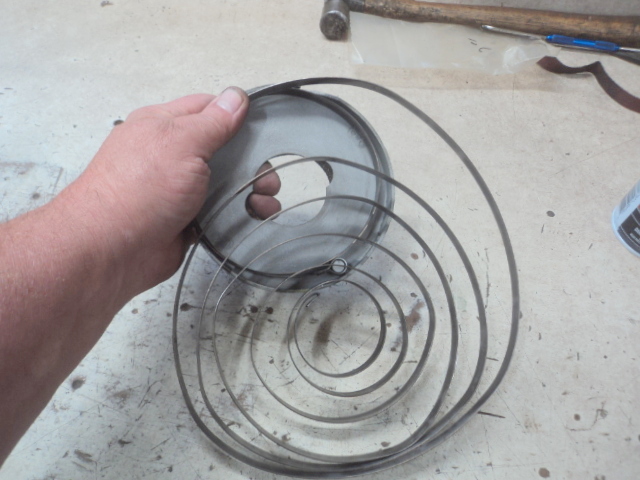
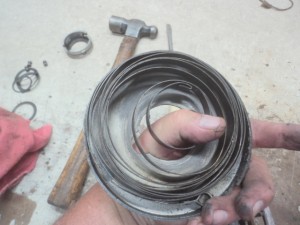
Carefully pick the spring housing up and grab it holding the spring in the housing. Pop the end of the spring off of the tab of the cable housing and remove the spring and spring housing as one piece. Now you can remove the spring from the housing.
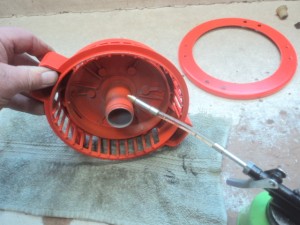
Pull most of the cable out of the housing. Line up the indent in the outer circumference of the cable reel with the cable whereas you can pull the cable reel out and pull the cable with it. Remove the plastic cable guide from the housing.

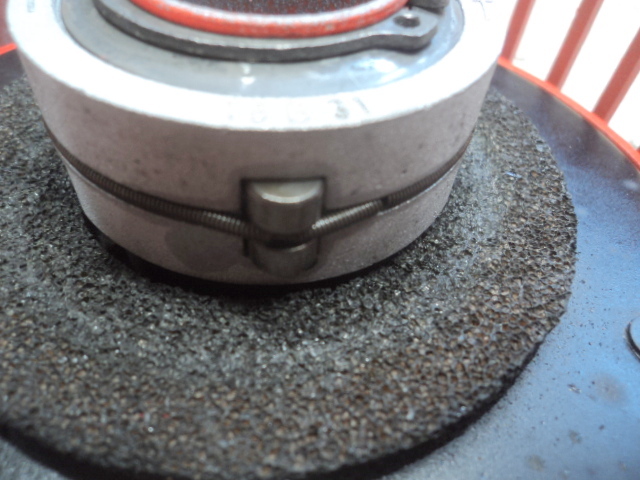
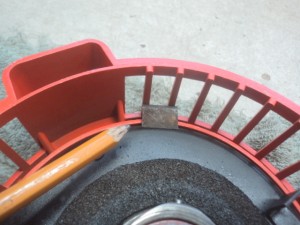
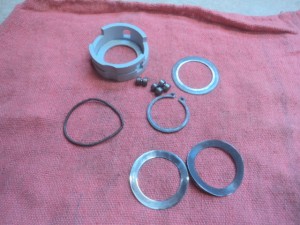
Now you can clean up all the pieces. I like to sandblast the aluminum housing and paint it. Check the condition of the aluminum roller cage, rollers and spring. Clean up as needed. Check the 3 roll pins in the aluminum housing. They should be sticking inward the thickness of the spring housing so that it properly seats in the slots of the housing. If the slots are badly worn, you need to replace or fix it somehow. If the sponge dust seal is loose, you can glue it back on. If it is gone, you can make another or just go without it.

When you remove the cable from the cable reel, you will see that the end of the cable is under a tab. Check to make sure the tab is not broken. Replace or fix if necessary. Also check the tab for the spring. I like to bend it away just a little so it is easier to hook the spring into the tab.
Once everything is cleaned up, it’s ready to put it back together.
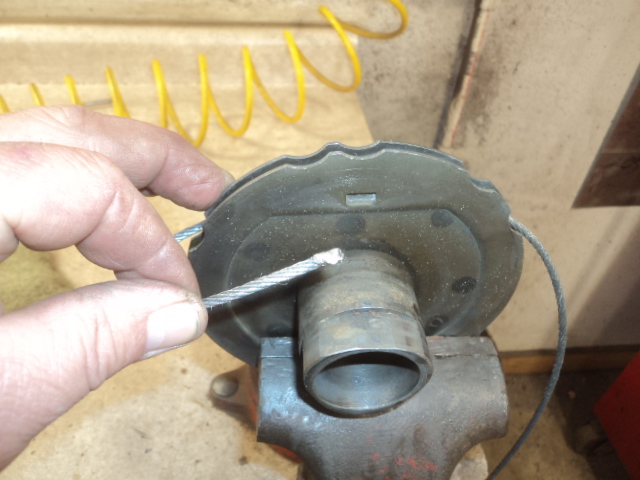
Start with the cable. These cables are not your typical garage door cable you buy at the local hardware store. These cables are metric. If you use a cable that is domestic made in the US, it will be slightly bigger in diameter. When you go to install it being slightly bigger, you won’t get as many wraps on the cable reel which means your recoil is going to have a very short stroke.
The right size cables cut to 88″ should be the right length to get all the cable on the reel and stick out far enough to bridge the gap between the recoil and dash of your Diablo. If you cut your own cable, be sure to put solder on before you cut or the cable will fray.
I like to add a gob of solder to one end of the cable to help with keeping the cable from pulling through the tab. Looking at the picture below, push the cable from left to right into the groove in the cable reel and route the cable under the tab. This is where that gob of solder catches on the tab. If the cable is not tight under the tab, you can tap the tab down slightly.
 .
.
Now raise the cable up and come back to the left over the tab and seat the cable so it makes a good U-turn over the tab. Wind the cable onto the reel. Put a little light oil on the shaft of the housing. Install the cable reel into the housing again, lining up the indent.
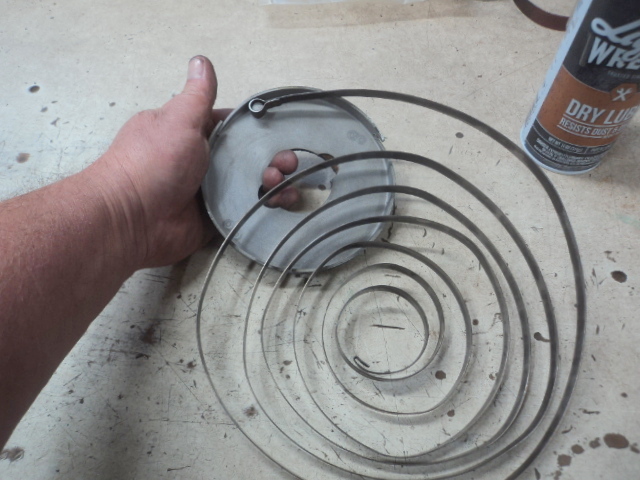
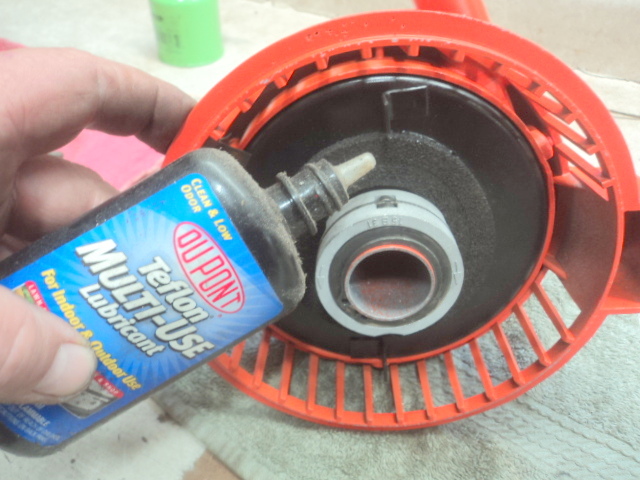
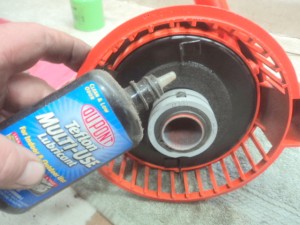
Clean the spring with emery cloth. I like to lubricate with a dry spray lubricant.
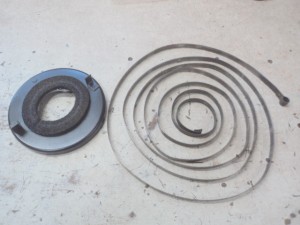
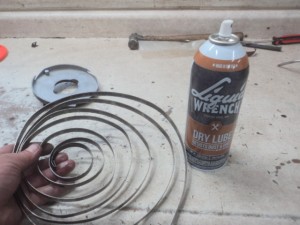
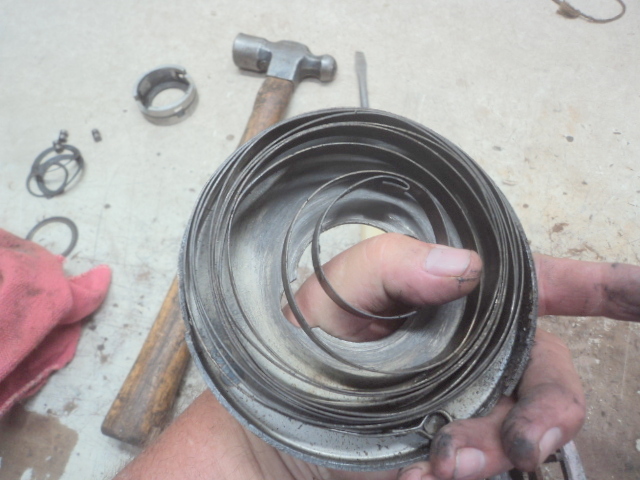
Wind the spring into the spring housing by connecting the looped end of the spring into the housing. Then walk the spring in into the housing.

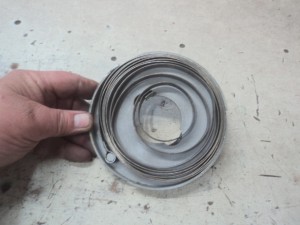
Place the spring and housing into the recoil and guide the inner end of the spring past the shaft of the cable reel. You should be able to get the spring housing in place against the 3 roller pins. Now you can gently pull some of the cable out and watch for the tab to come around and catch the spring. Once that happens, help the spring into the tab.
At this point, the spring housing should be on the three roll pins and the inside spring end should be in the tab of the cable reel. To tighten the spring, turn the spring housing clockwise and you will feel it lift up over the roll pins as you go 1/3 of a turn and if you let it go back counterclockwise, it should grab on the pins again. I like to go six – 1/3rds of turns or two full rotations of the spring housing to set the spring tension. You can pull the cable in and out to set the cable and see how the recoil is functioning. You can also reinstall the plastic cable guide.
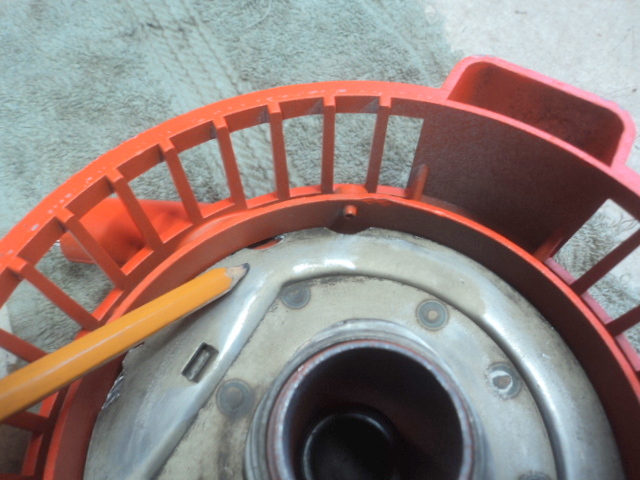
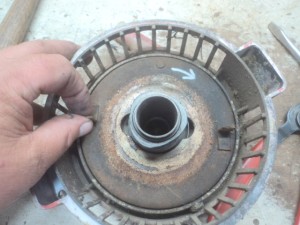
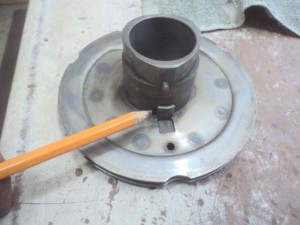
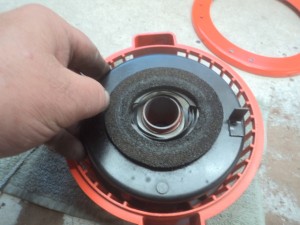
Notice that there is a pin exposed on the cable reel shaft. Also note that there are arrows on the top of the aluminum cage. Install the aluminum cage such that the pin is in the slot under the counterclockwise arrow. Don’t forget the steel shim under the aluminum cage.

Install the two beveled washers onto the cage with no lubricant and install the snap ring. These beveled washers act like a brake and hold back the aluminum cage so the roller pop out when you pull the recoil. If the recoil seems too tight and won’t retract, you can add a little more spring tension by turning the spring housing another third of a turn or two. Sometimes, only one beveled washer is needed. Do not over tighten the spring or it will bottom out when you pull the recoil cable.

I do add just a dab of oil on the rollers.
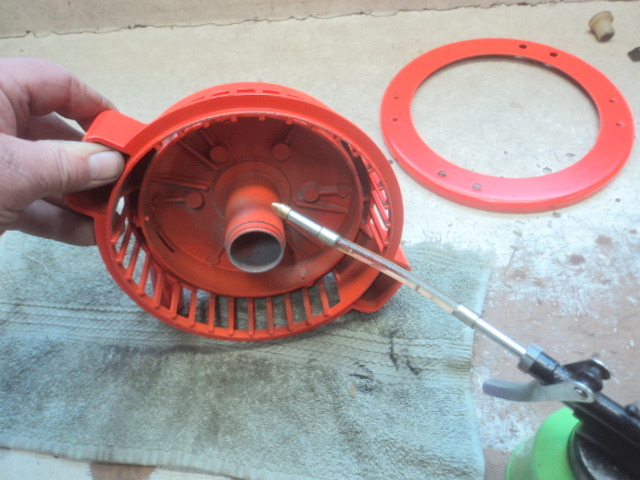
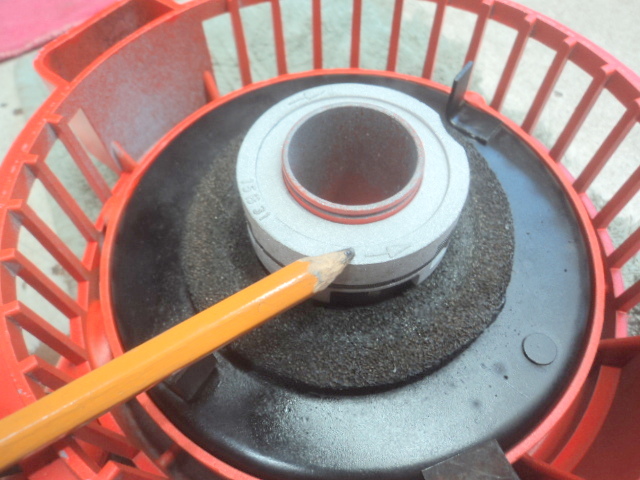
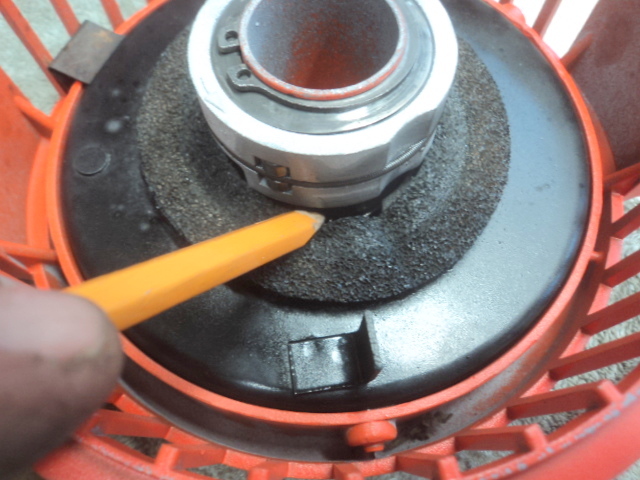
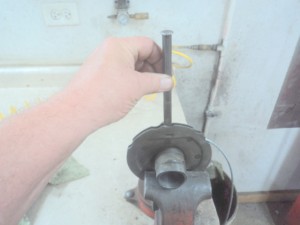
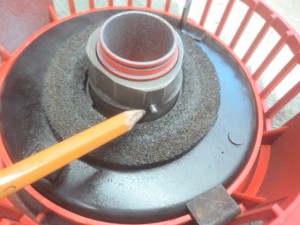
Now your recoil is back together. It should pull out and retract smoothly. If over time the spring does not retract well, you can spray some dry lubricate into the recoil housing without pulling the assembly apart. See where the pencil points below. When complete, your cable should stick out as shown when fully retracted.

.