
.
Although we have no documentation about the Diablo production, after seeing so many over the years and talking with many people, we have a pretty good idea what was going on at Bolens in 1966. They bought Hus Ski a year earlier and were itching to get a new breed of sled into the market quickly and thus the 1967 production year Diablo was being thrown together fast in 1966 with little testing done prior.
.
Serial numbers for the 500 started at 10000 and went upward sequentially. We can see based on those early model 500 serial numbers that Bolens was making engineering changes on the fly. Changes in the gearbox, bogie stations and chassis support are evident. At some point in that production year around serial number 12500, Bolens made a number of additional modifications and started a new sequence of serial numbers starting at 15000 numbering up from there. For this discussion, it is those early Diablos with serial numbers before 15000 that need Upgrades and Fixes.
.
On those first models, the Model / Serial Number Decal was attached to the back of the dash and as you can imagine, they did not stick well to the plastic and many fell off. Later 500’s had their Model /Serial Number Decal put on the motor mount post where they held up better and did not come off. Between the 1967 and 1968 production years when they started making model 502’s and 503’s, they made almost 30 changes in design that address the mechanical issues of the 500 model.
.
There are not many 500’s out there and even fewer early design 500’s. For one reason, many of them just self-destructed because of their design. If you have an early design 500, you want to fix a few of those problems now, otherwise, the same demise will come. Without going into great detail, here are some things you should take a look at:
.
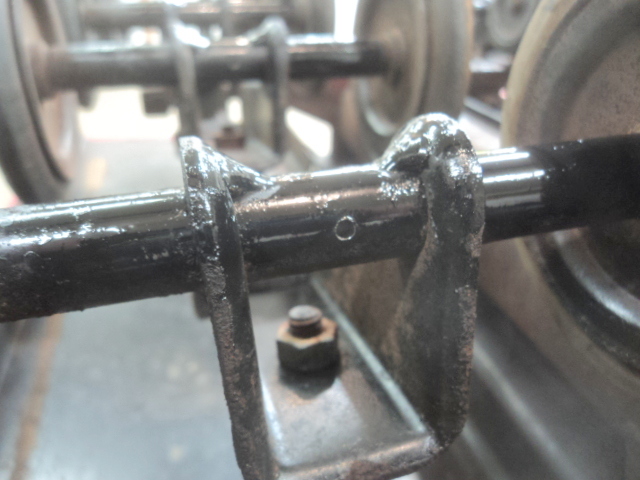
- The bogie stations probably do not have anything stopping them from flipping over center on their pin mounts. When going over a bump, these stations would flip over and then get caught up in the track and get torn off. This killed many 500’s. Also, the stations don’t have enough weld between their U bracket and axle tube and they can break loose. Lastly, the pins that hold the bogie to the rail are held in place by a simple locking washer. These can fall off allowing the pins to fall out. To fix this, you would weld an anti-flip pin on the bogie rail mounts. Add weld and install a lubrication port in the axle. Use oil (not grease) to lubricate the bogie stations. Grease can push the bronze bushings out of the tube and up against the steel wheel hubs. Drill holes in the pins and use a cotter pin to keep them in place.
.


.
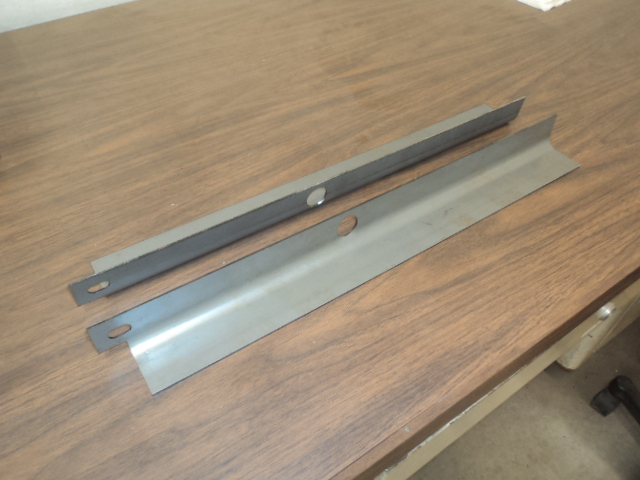
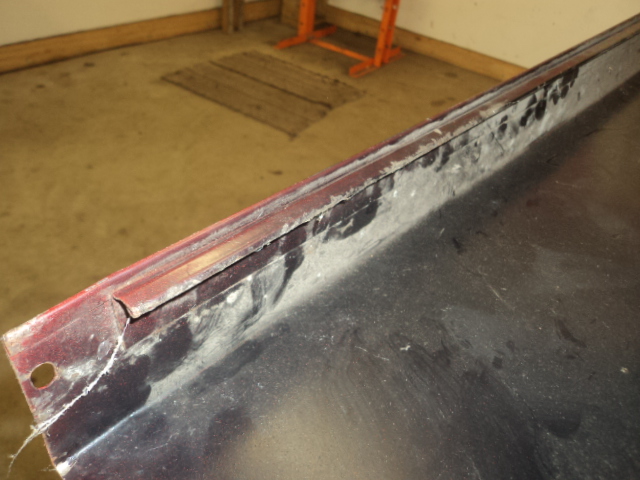
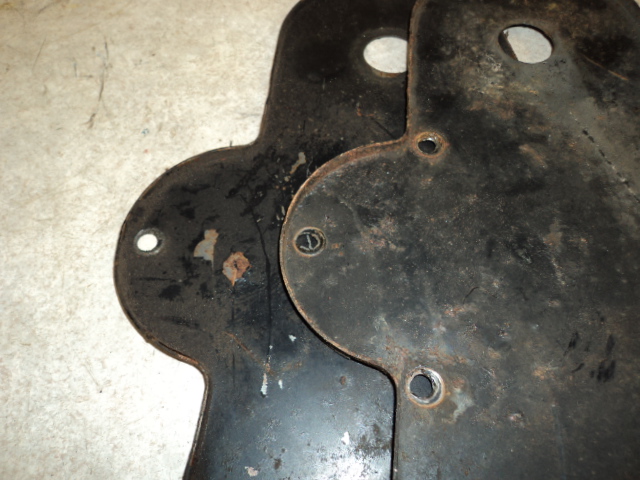
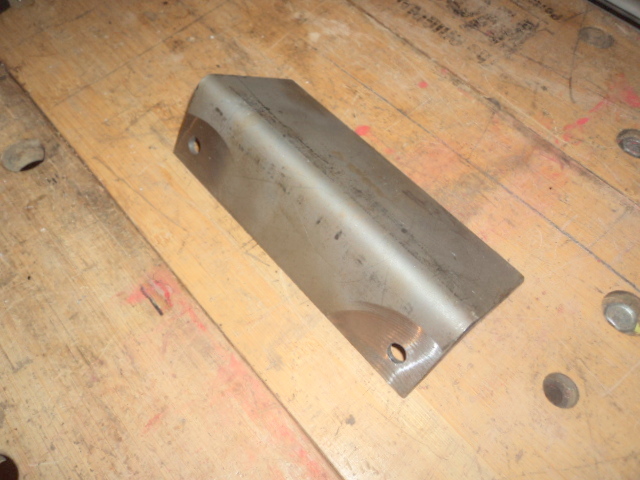
- The front of the chassis does not have enough strength to support the weight of the hood or support the bumper. This is in the area where the bumper brackets mount. Without adding extra support, the front end will sag down and the hood will actually bounce off the motor mount post and dent it upward. You can add reinforcements in this area to combat this issue. Shown are reinforcement angles that are specifically bent to match the inside curve of the tunnel and can be welded to the inside of the tunnel to support the font end.
.
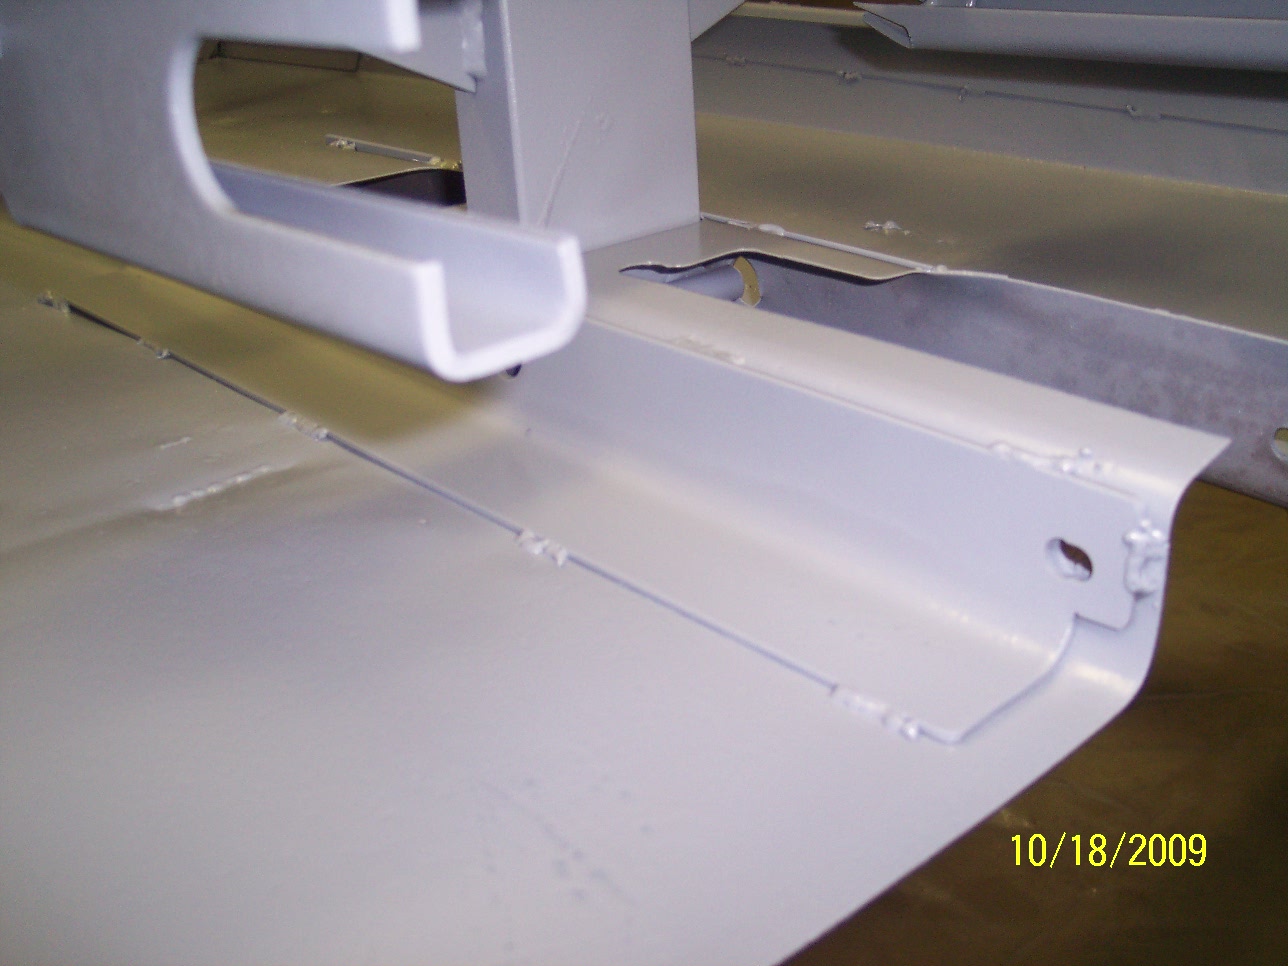
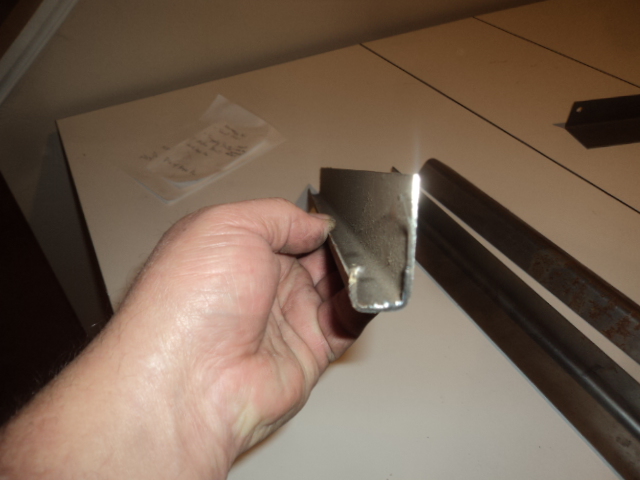
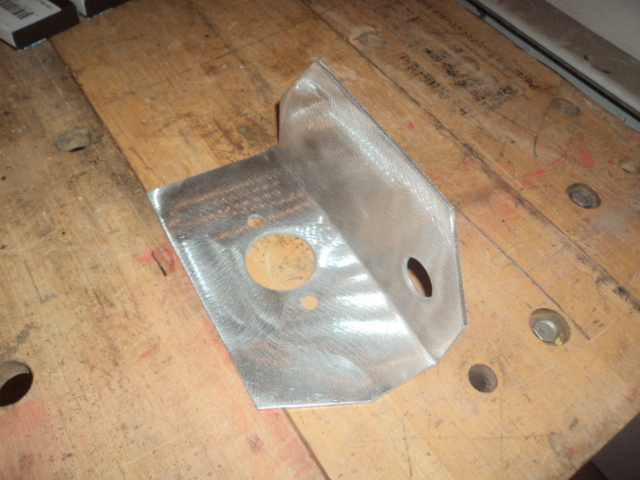
- The sides of the chassis are fairly flimsy as well. You can add a bent piece of sheet metal to the sides to emulate the upgrade on the later models and this will stiffen up the chassis. Shown are the edge reinforcements for the sides of the chassis and you can see how they are welded in place.
.
.
- The front bumper has just two brackets that comes outward from the frame and the bumper is very flimsy. You can add two more brackets coming outward on an angle to stiffen up the bumper. Angled bumper brackets from the 502 & 503 will work for this.
.

.
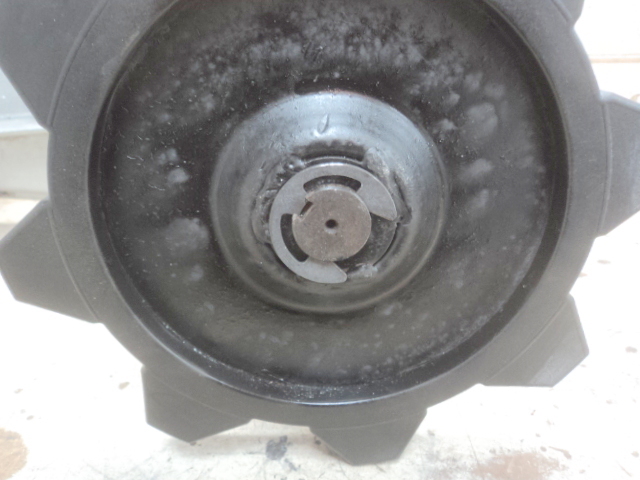
- The drive sprockets come very close to a metal tube in the chassis and if they make contact, the tube will cut the sprockets. You can cut a side back on this tube to give you more clearance. This fix should be done to all models.
.


.
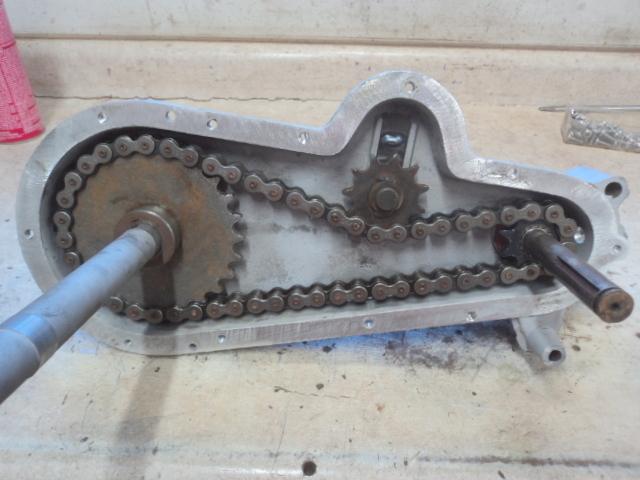
- In the very early 500’s, the gearbox had a plastic idler gear and they failed almost instantly. If you have the gearbox out, I suggest pulling it apart and going through it. I have steel idlers to replace the plastic if that is what you have. It is also a good time to add a fill port and a drain plug into the gearbox. The drive sprockets have a very thin snap ring on the shaft by the drive sprockets. Suggest to widen this groove and install an E Clip like the later models use. Early gearboxes had only 9 cover screws and later gearboxes had 11. You can drill and tap for additional cover screws.
.
.
.


.
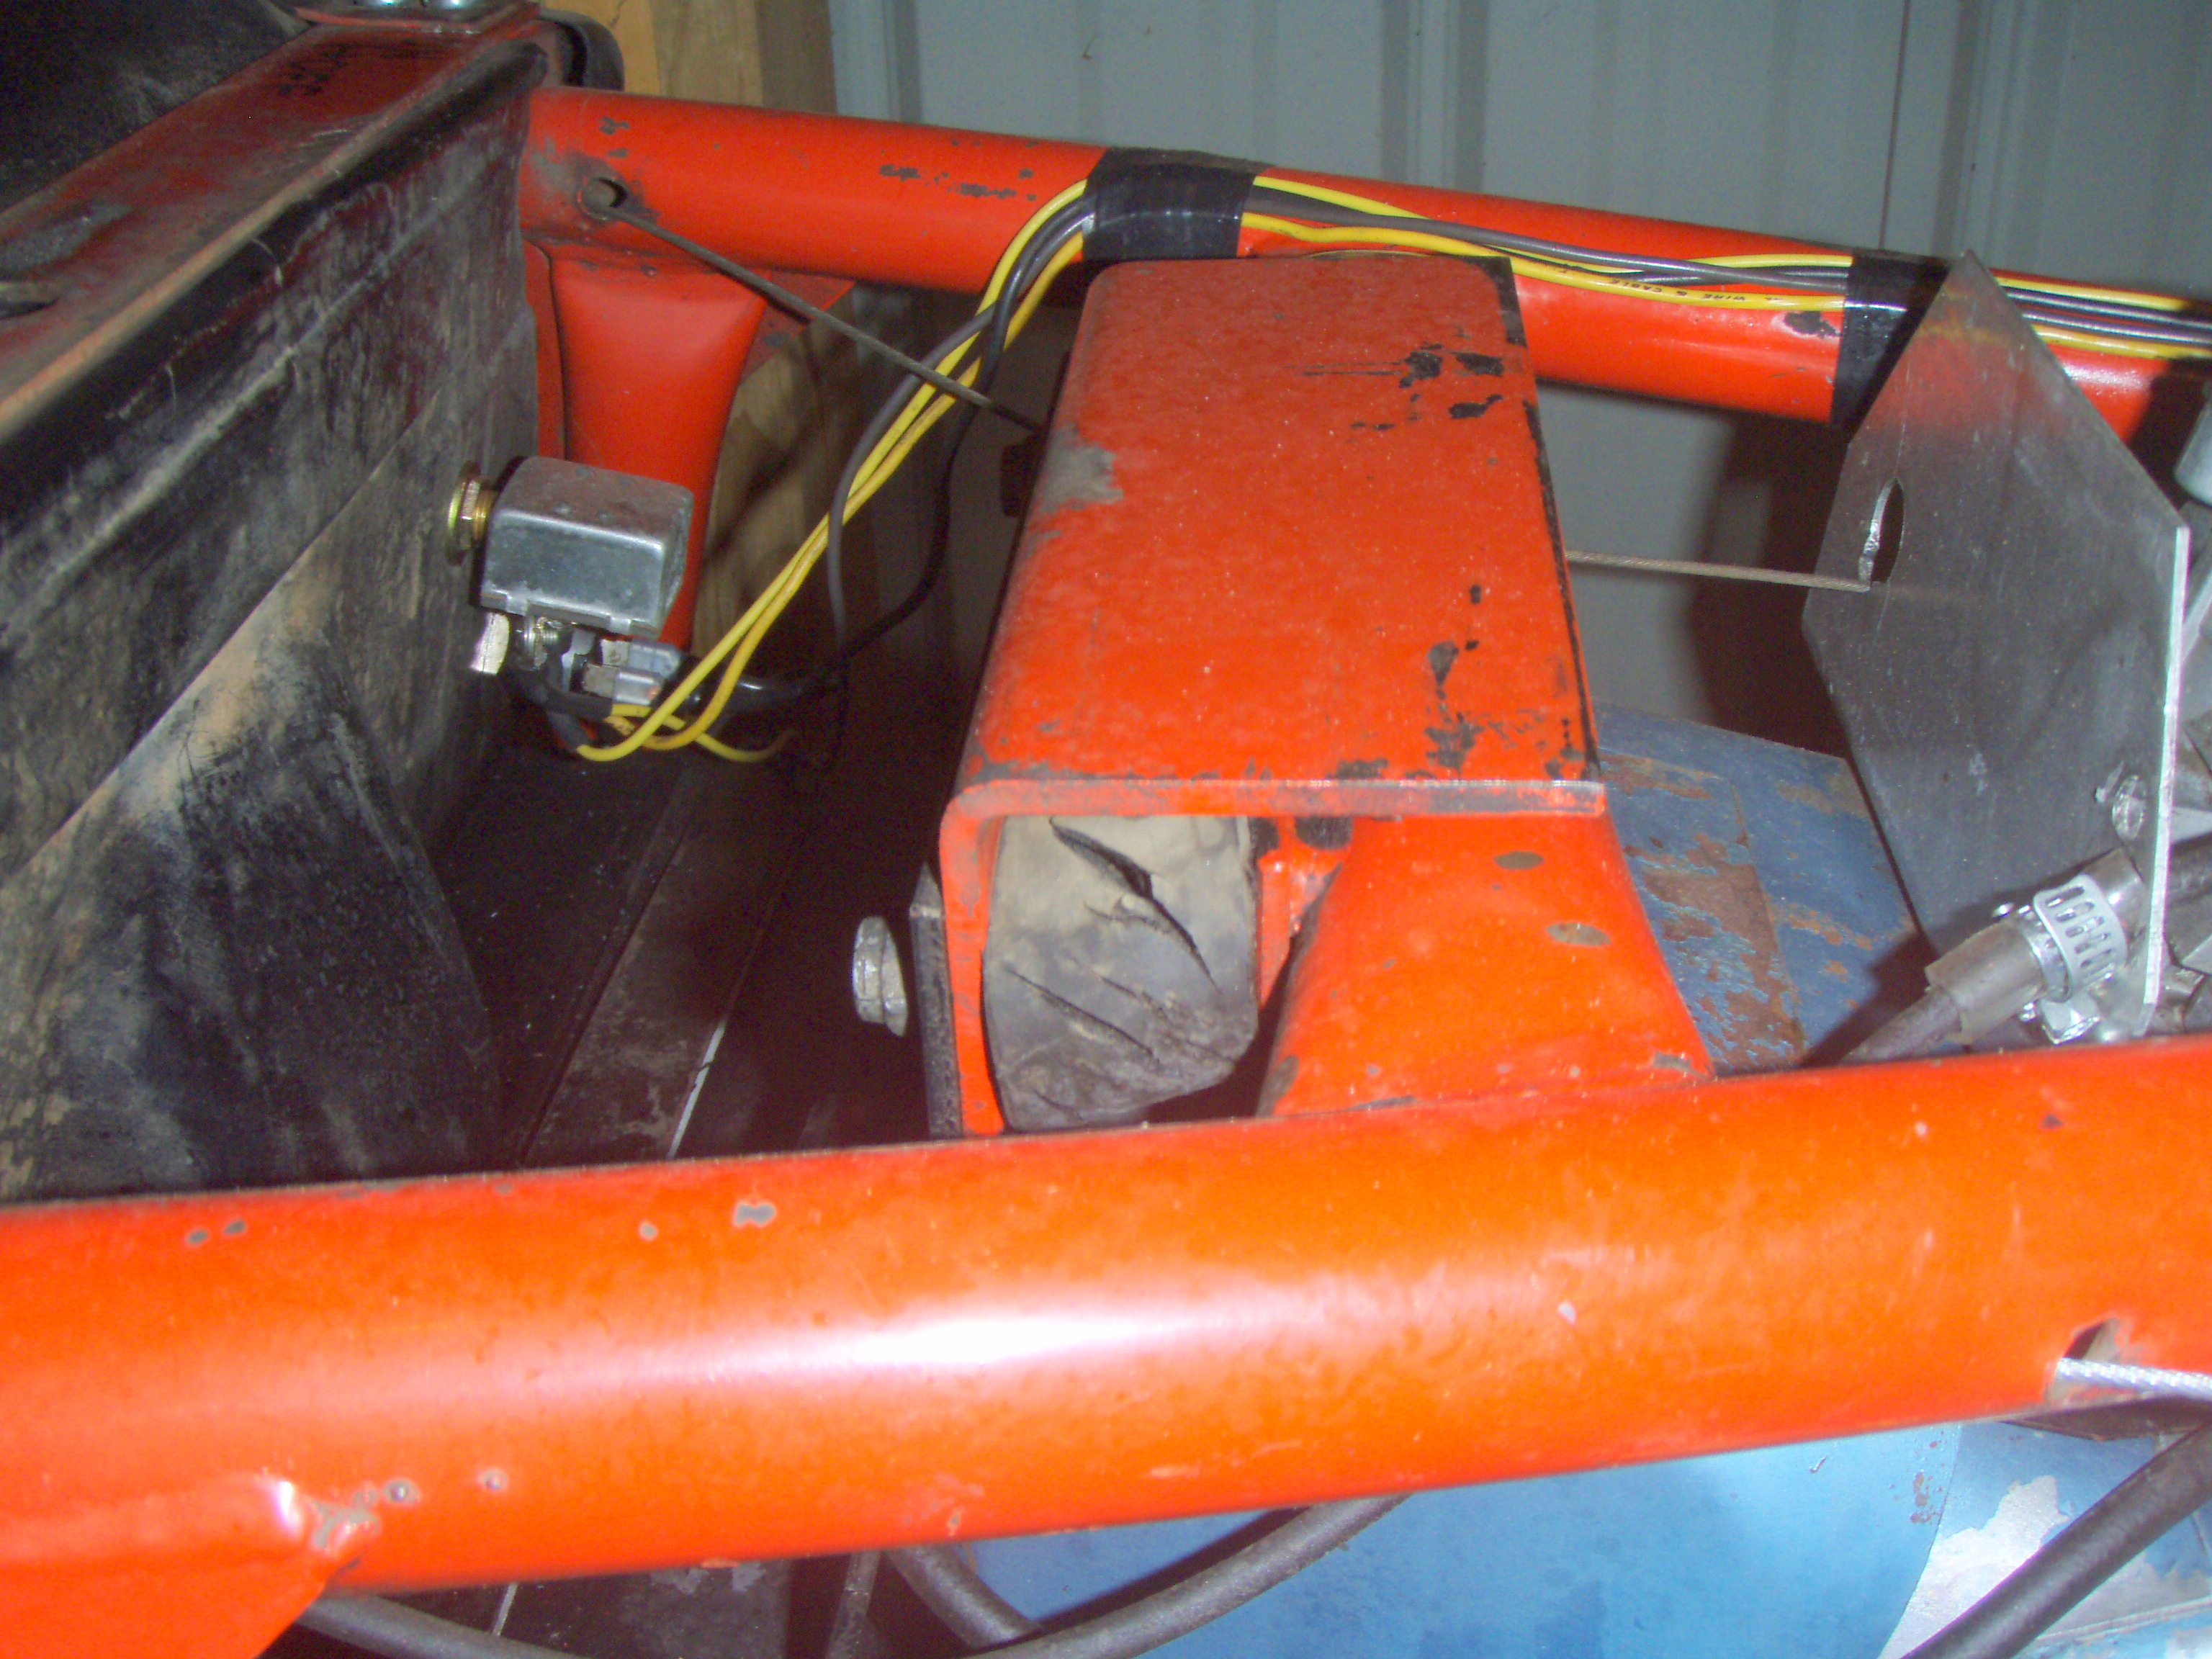
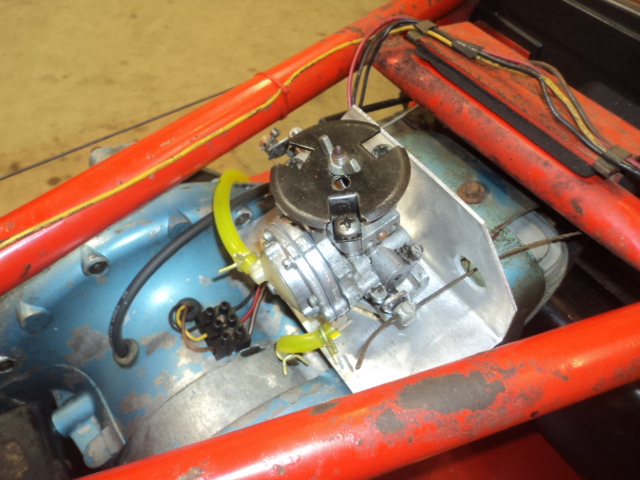
- Need to install a simple bracket on the top motor mount if yours does not have one. The two rubber motor mounts don’t have enough strength to stop from breaking and allowing the top of the motor to crash down on the gas tank. Should also add a 3rd motor mount between the two existing mounts on the bottom end of the motor where it mounts to the post.
.
.

.
- If you have no heat shield, adding one will reduce the vapor lock issues these 500’s have because there is very little venting in the hood.
.
.
- Add some gussets to the handle bars. Otherwise, they will bend.
.

.
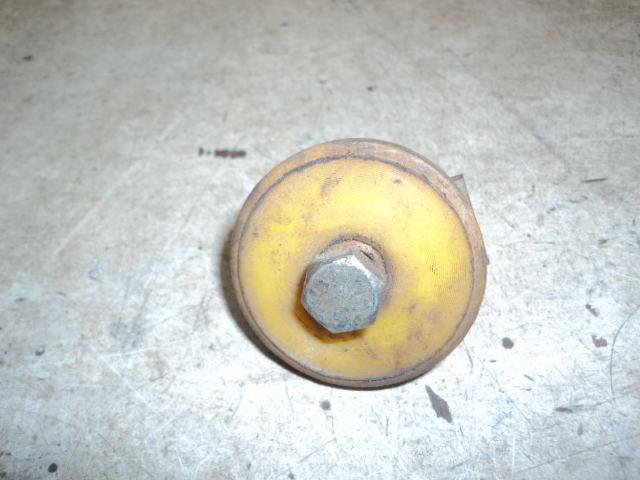
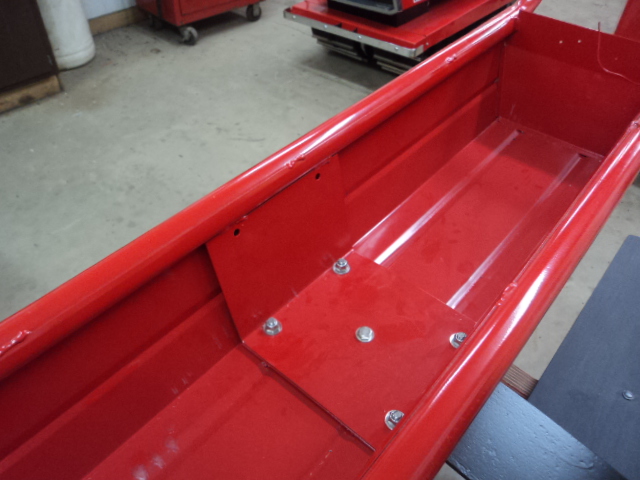
- If the ski seater tub does not have the added support plate in the area where it bolts to the spring, you can add them. Otherwise, the tub can collapse as there is not enough support from the sheet metal alone.
.
.
- Aside from the struggles that Bolens had with the chassis design, the motor may also have some issues. For one, the crank seal behind the clutch was installed backwards from the factory. Although this may not have caused an issue early in it’s life, 50 years later, the seal is probably leaking and can cause the motor to run lean and burn the piston. Pistons were often installed backwards as well with the ring pins toward the exhaust port. If your piston is missing a ring, this is probably why. You can install a Seal and Gasket kit in the motor and inspect the piston while apart.